It is finally done!
After many moons of hard work, I have completed what some might call the mother of all center consoles (also known as cubby box). Let’s be honest. The original Land Rover cubby box sucks big time — it looks odd and clunky, and simply is not very practical with its abyssal geometry. Whatever junk you put inside, it will disappear forever. So after deciding to place my subwoofer and auxiliary heating between the front seats, it was quite clear that a new cubby box would need to be constructed around it. Here’s what I have done, and how.
Initial thoughts and sketches
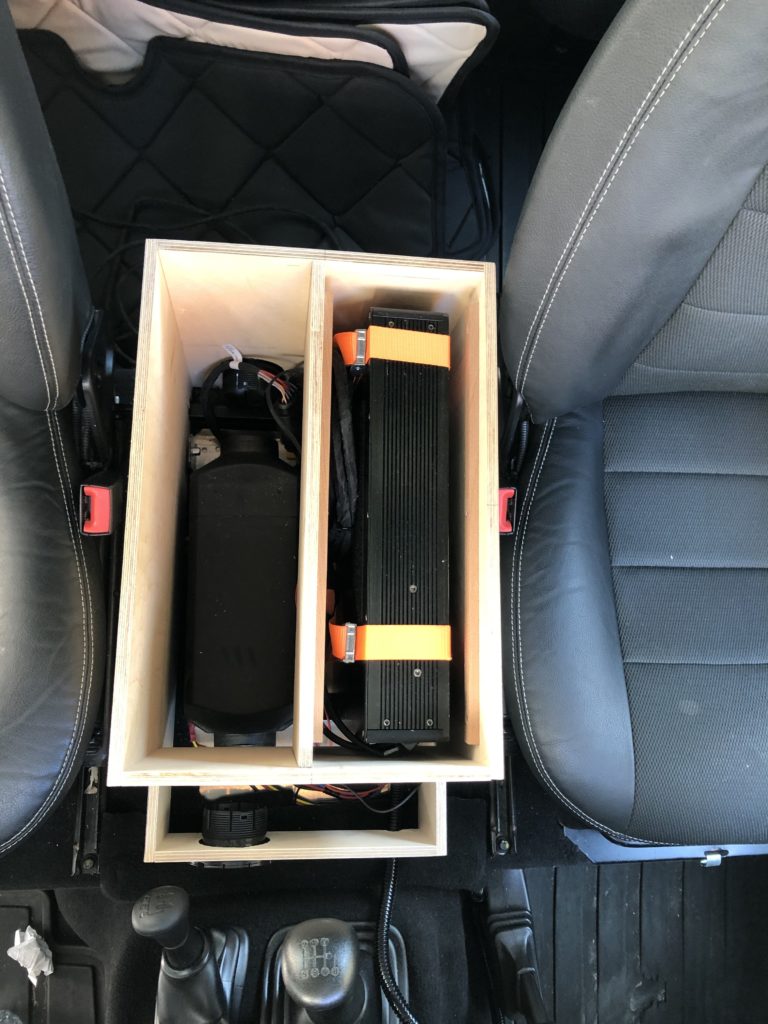
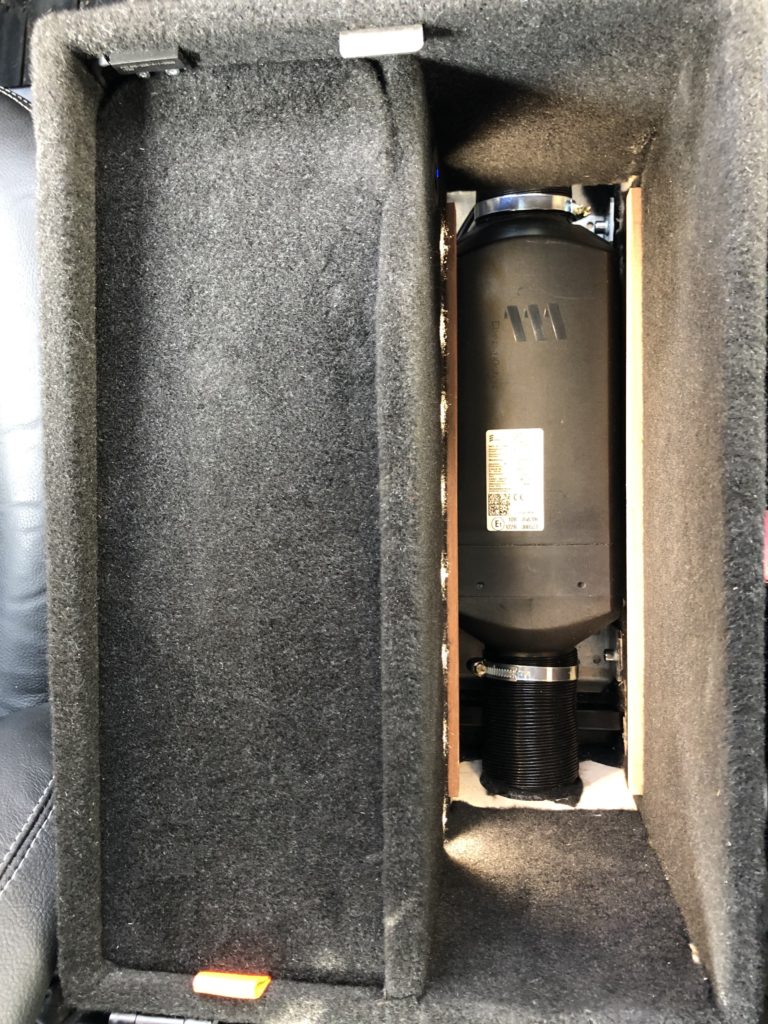
Generally, I designed the cubby box to enclose a Diesel heater (Eberspächer S2 D2L Airtronic) and a compact subwoofer with 2-channel amplifier (Focal IBUS 2.1). The box should remit low frequency sound from the subwoofer, insulate against noise from the heater, but also allow both intake and hot air to pass through safely. It should feature a cupholder, a front panel for six illuminated switches (incl. dual battery voltmeter), a twin USB socket for charging accessories, and as much storage space as possible with LED illumination when opening the lid, of course. The cubby box should be lightweight yet still durable, and somewhat ergonomic with a soft touch and comfy armrest.
Mounting the base plate
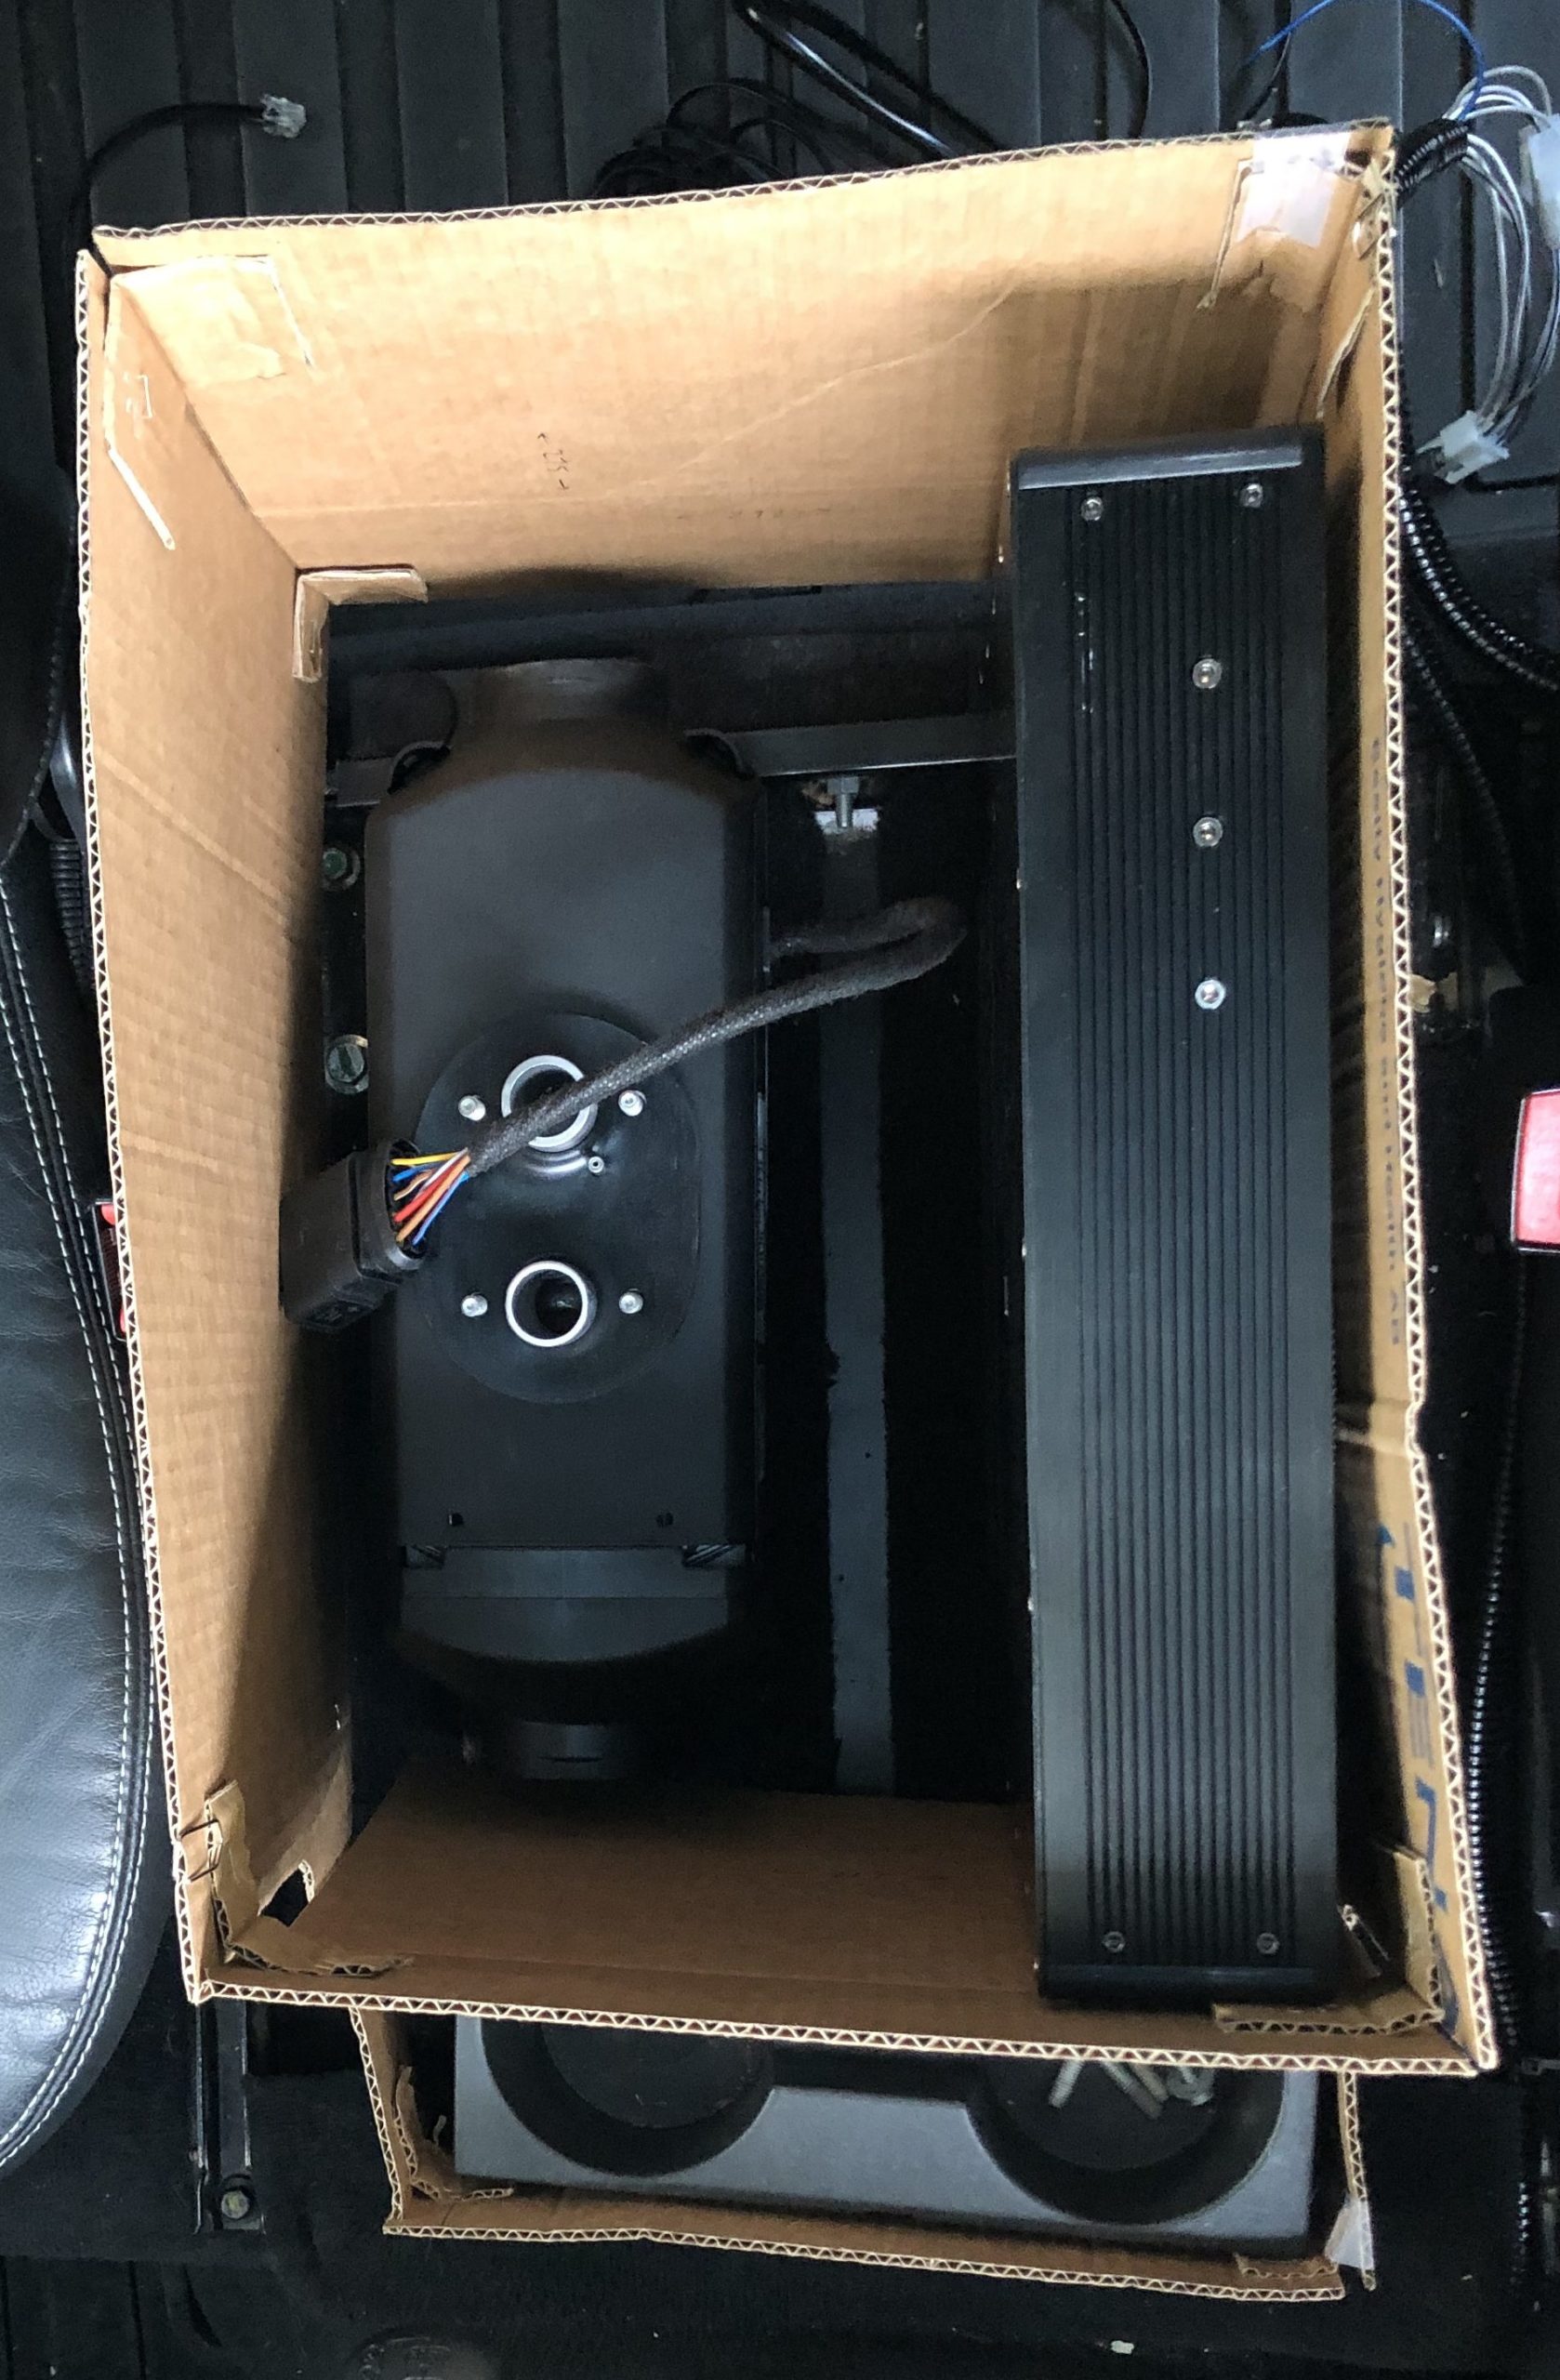
I started off by attaching the heater and subwoofer to a high-grade steel mounting plate (thanks to Metall Werk Zürich for punching additional holes). The subwoofer, however, needed to be fixed on a metal frame that would ever so slightly hover across the crossmember behind the front seats. It was a matter of millimetres, otherwise the envisioned geometry would collide with the shift lever. Ultimately, I placed four corner brackets with M6 blind rivets on the plate to fasten the box later on.
Let’s play carpenter
The woodwork was the most time-consuming part. It literally took me months to complete the box, basically because I lacked the time, experience and right tools. After setting up a workshop for myself in the basement and several prototypes later, I learned a lot about wood and screws, and how to saw straight lines, to cut holes, channels and round pockets with a router, to trim and smoothen edges with a grinder, etc. etc. etc.
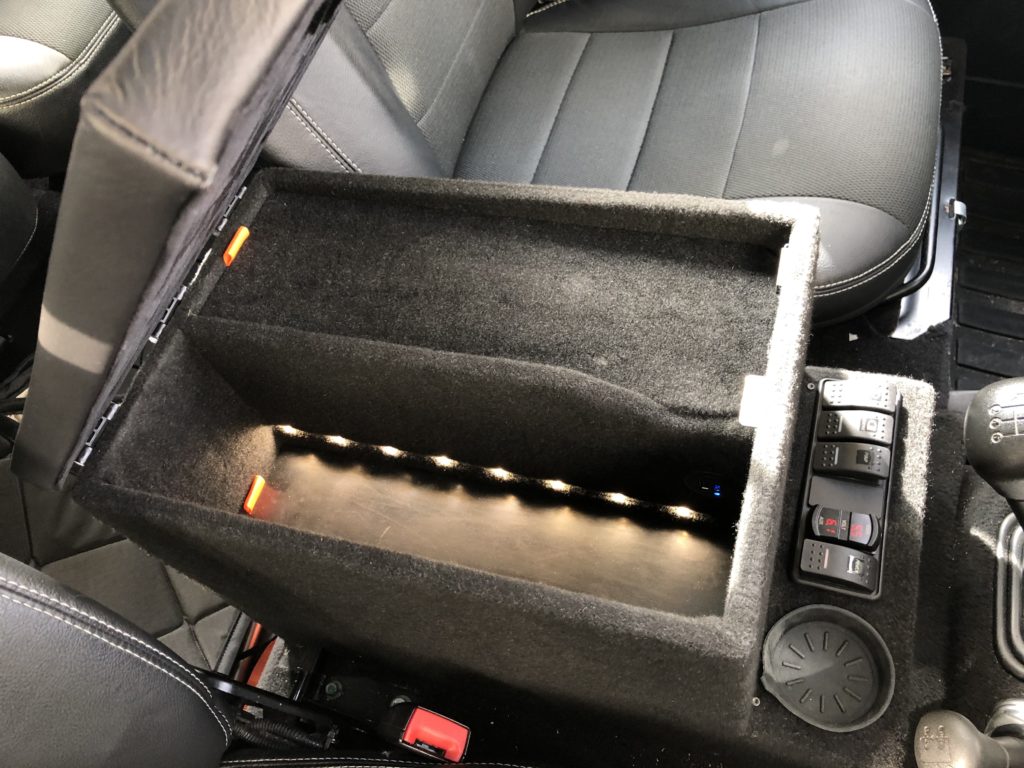
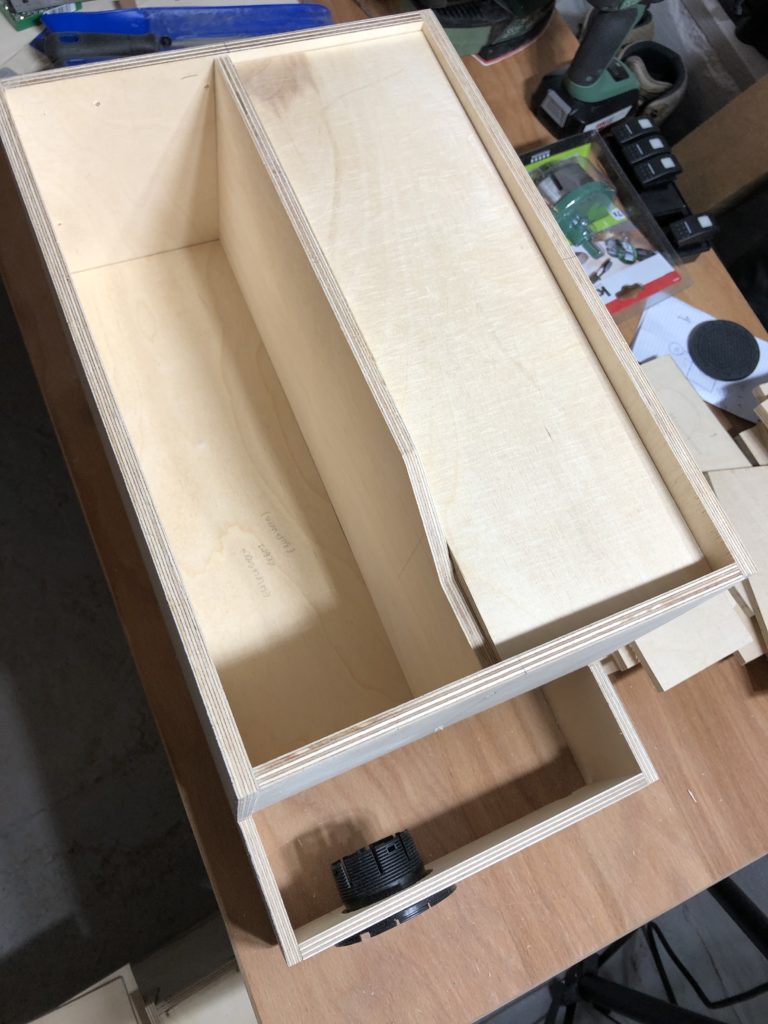
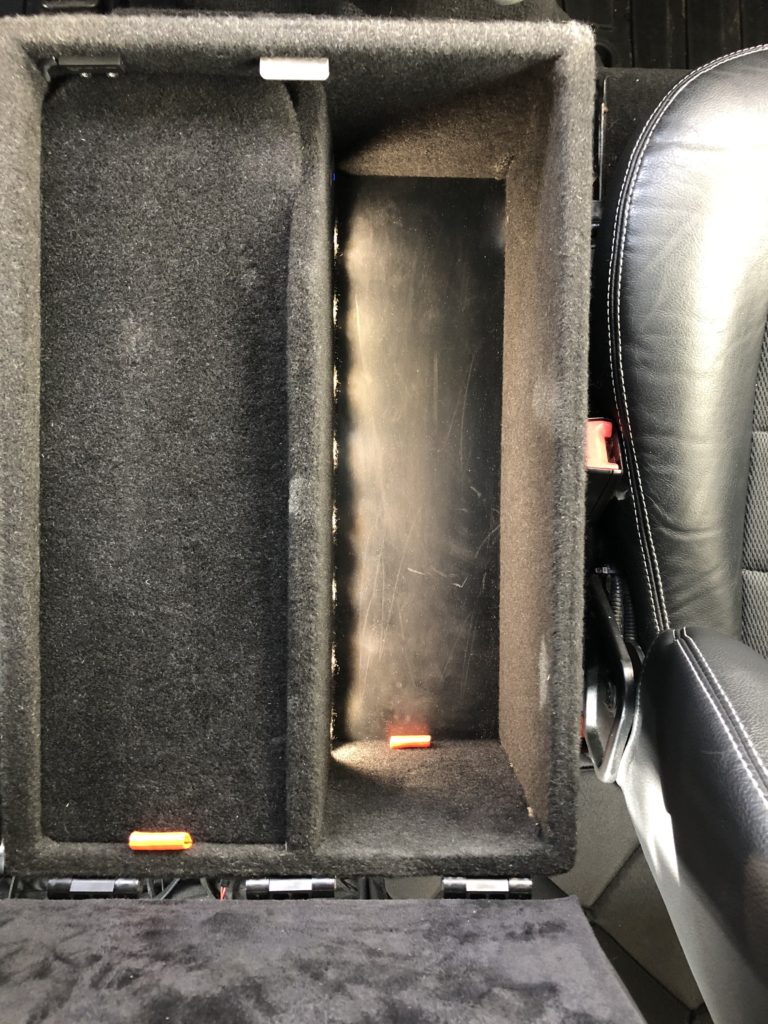
Anyways, I finally used birch plywood for everything (9mm for the corpus, 12mm for the lid). The box is one solid, partitioned block that can simply be imposed on the heater and subwoofer, yet with removable trays and a removable front cover (where the switch panel and cupholder would go). There are two storage compartments: a really flat one on the driver’s side that can only hold thin items like a mobile phone, and a deeper one on the passenger side.
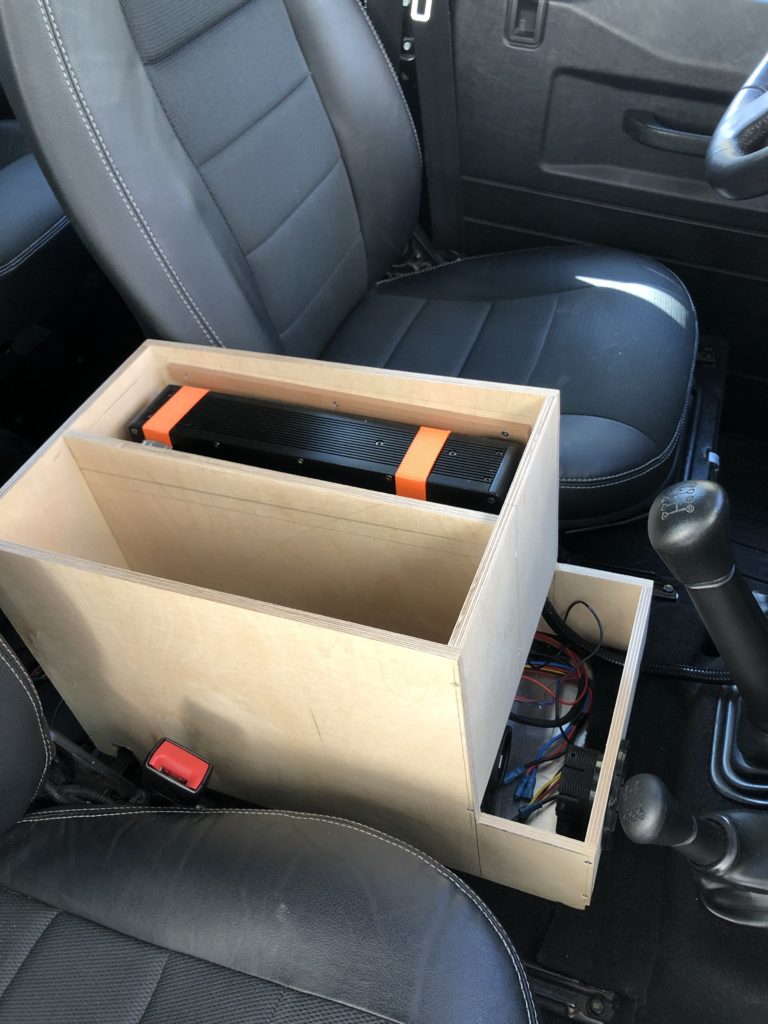
Upholstering and putting it all together
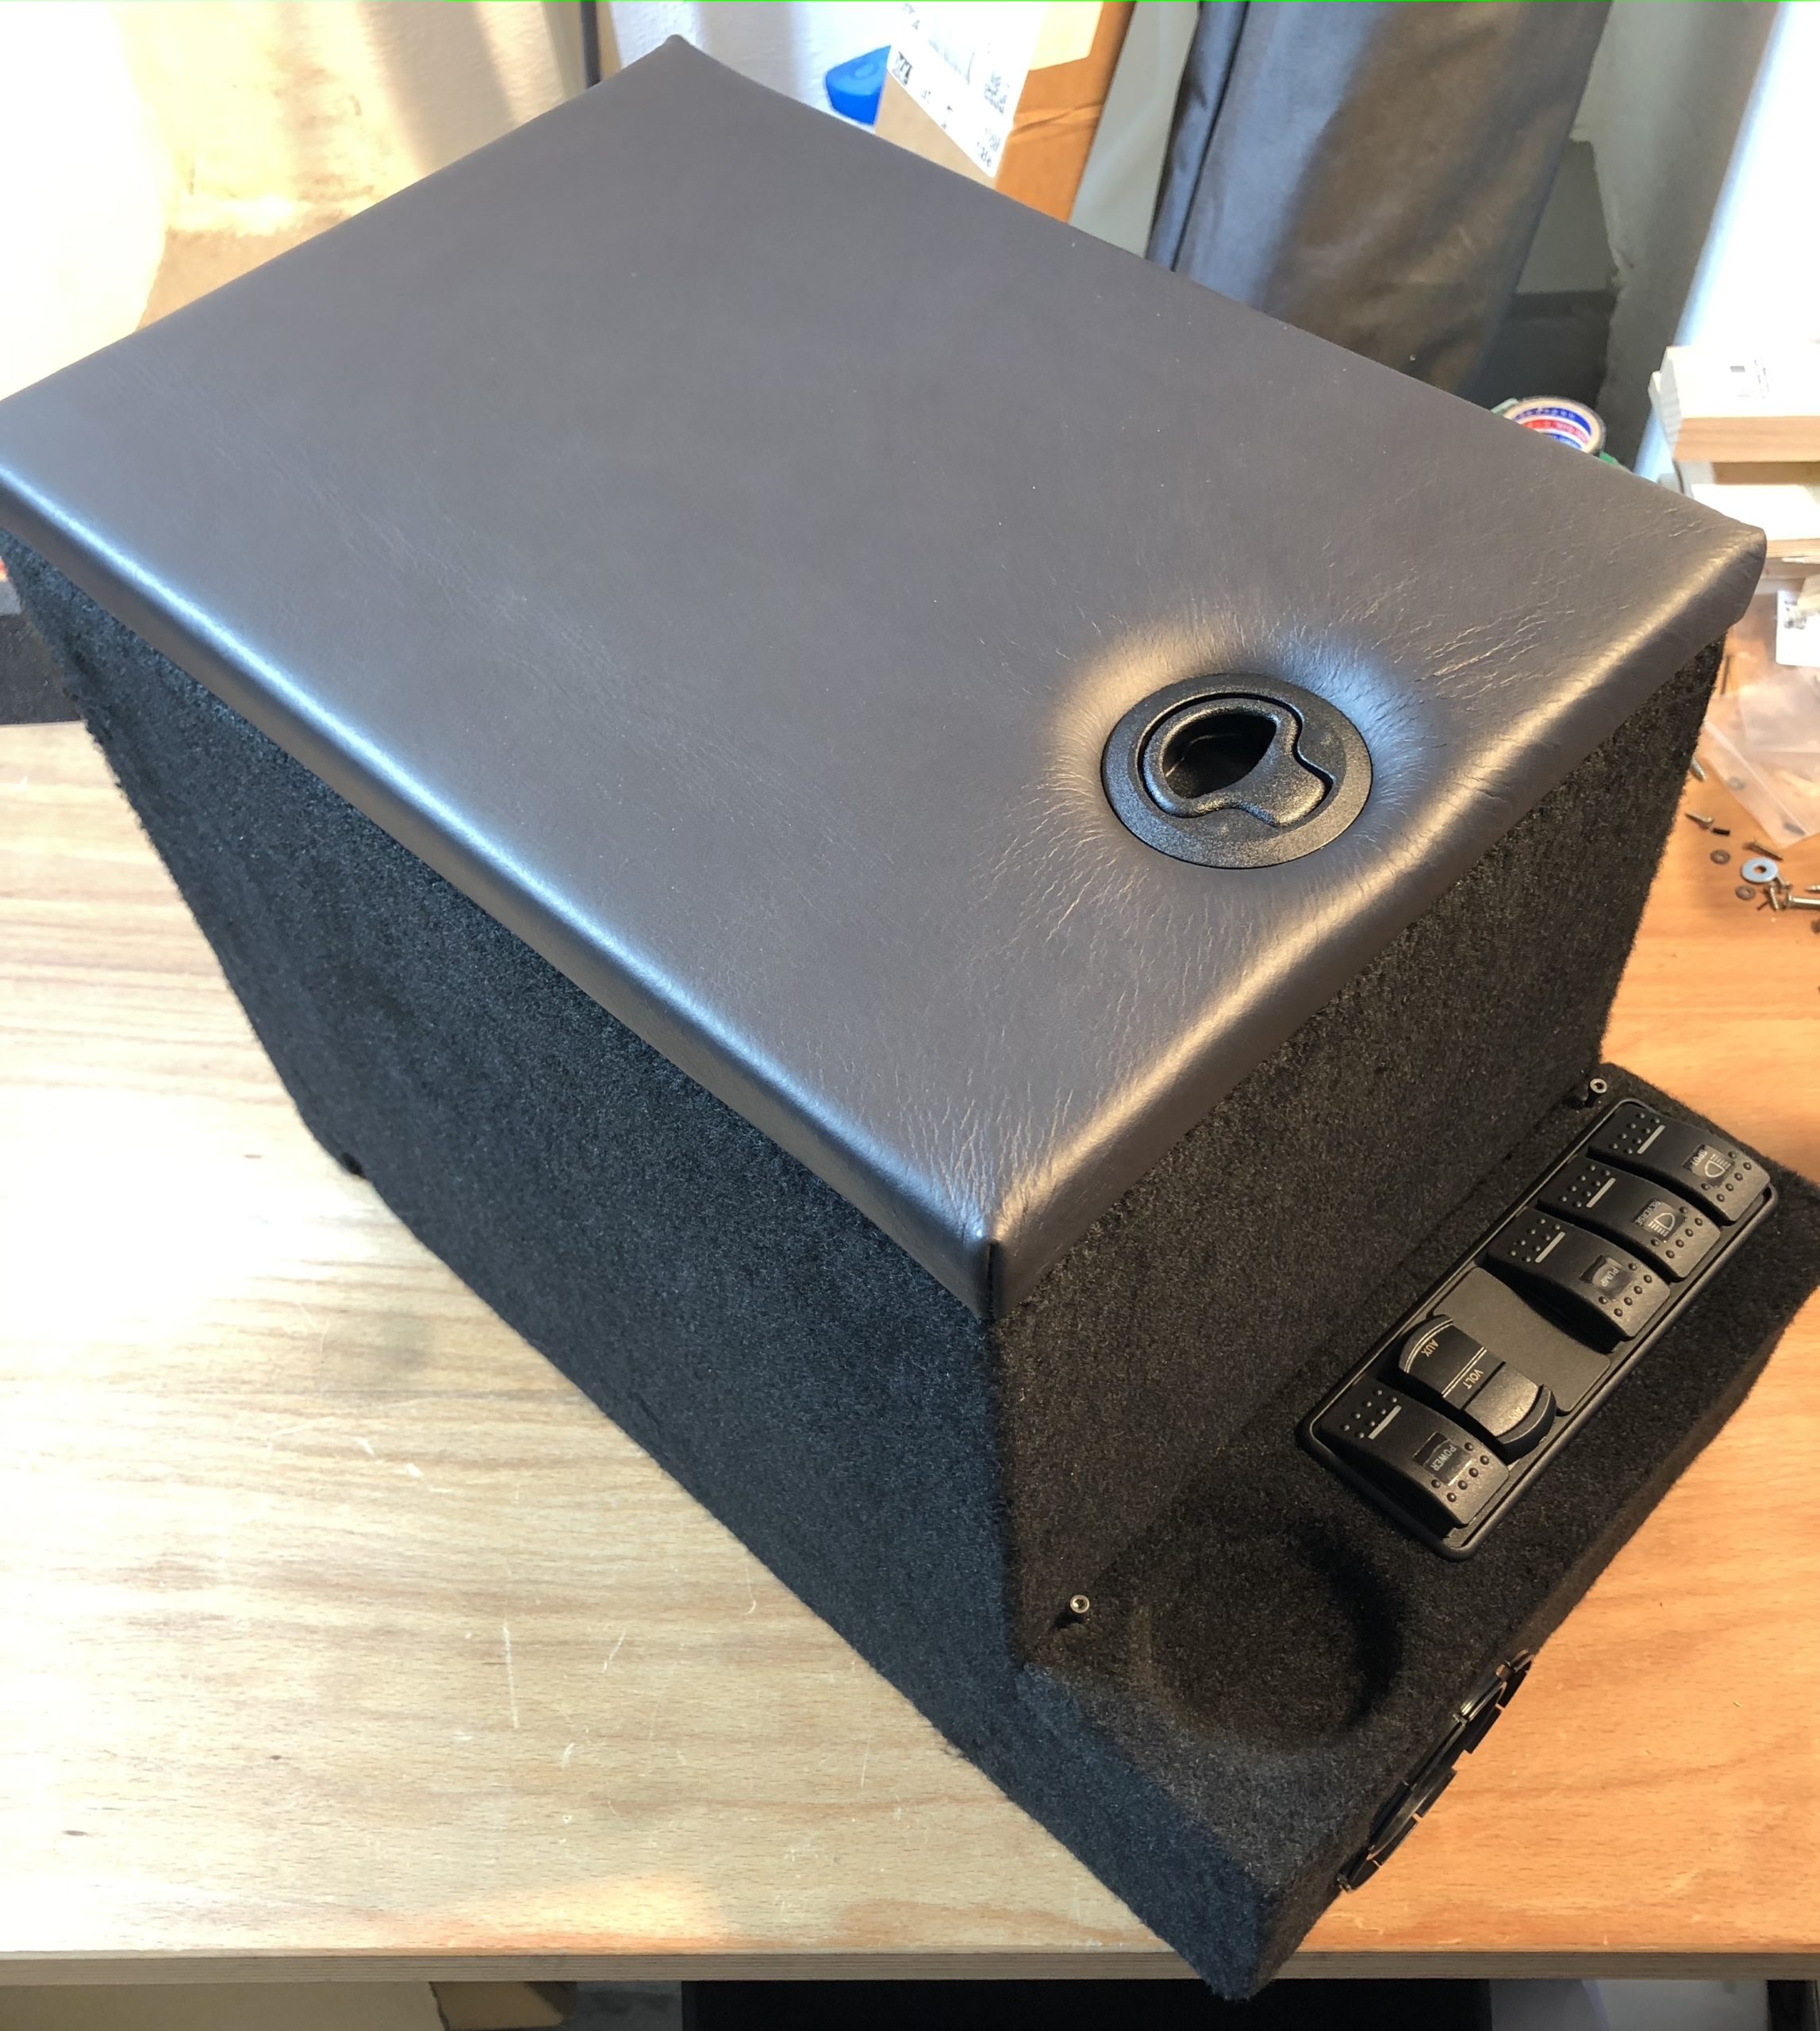
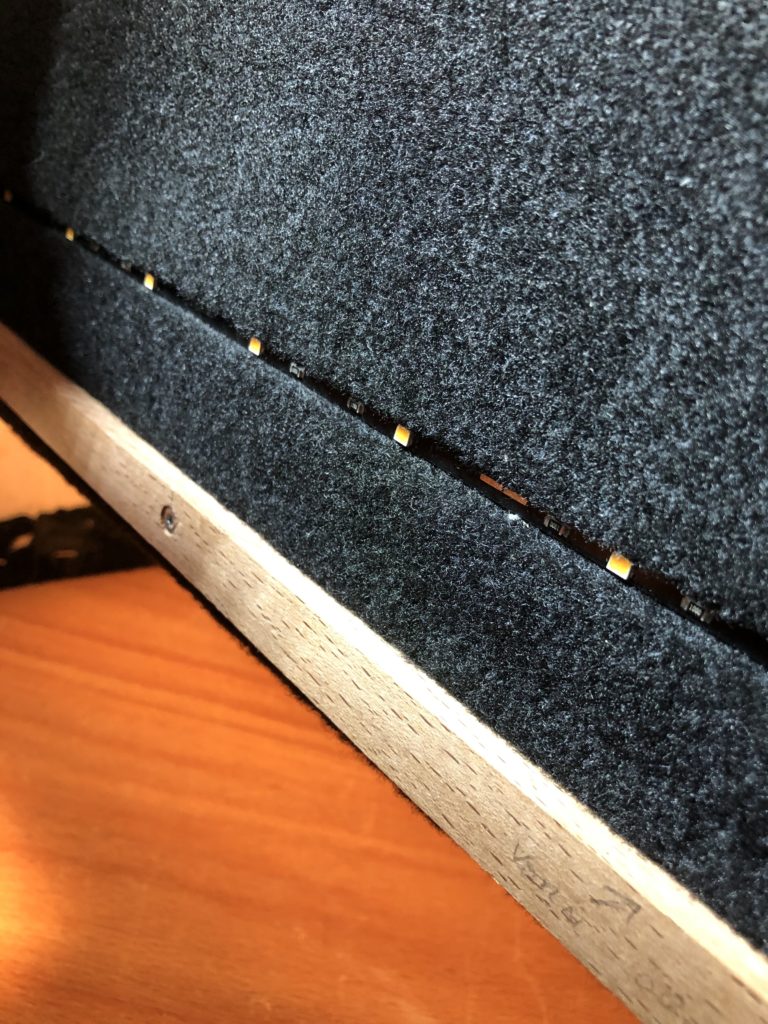
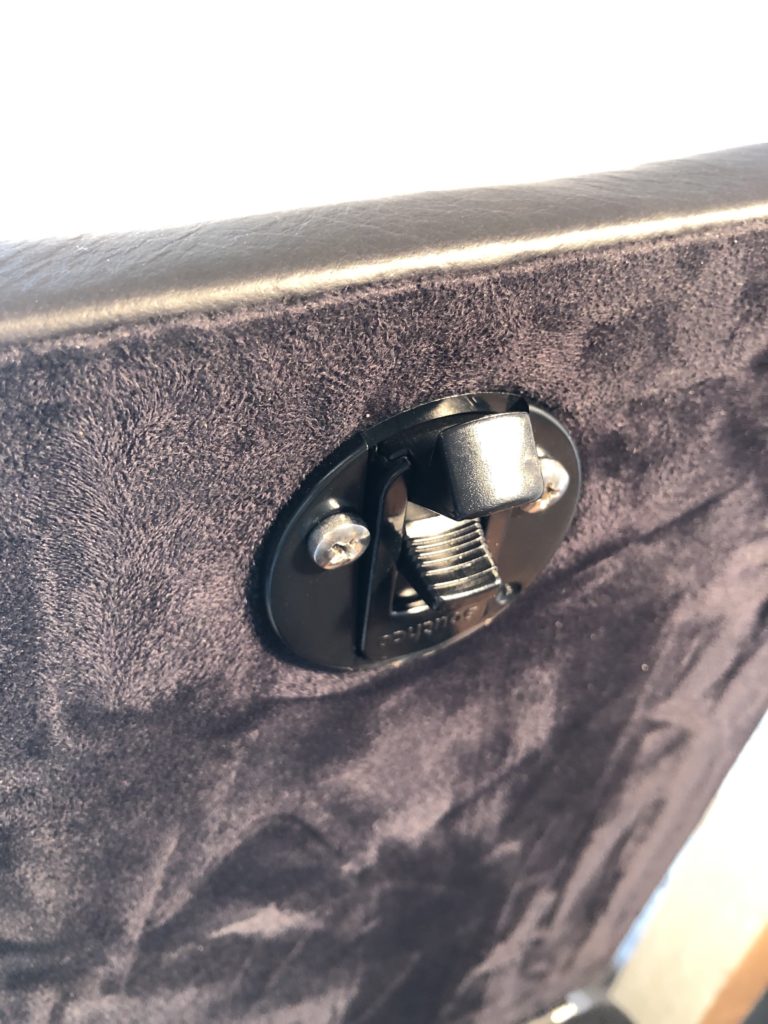
Now it was time to cover the box with an acoustic fabric (using an extra strong spray adhesive), and the wooden inserts with anti-slip rubber. I glued in an LED strip with a reed switch and a USB socket, and then wired it all up. The lid is covered with genuine buff leather (this I had done professionally by Andrea Ramseyer at Sattlerei Zürich). I added Southco E6 torque position control hinges and a fancy Southco M1 flush pull latch. A rubber pad (ø 75mm) fits into the circular pocket as a cupholder, next to the Carling switch panel. Ultimately, I placed the cubby box in the car and fastened it to the base plate. Everything sits flush, great!

I have to say that I’m absolutely excited about the result! Let me know if you wish to see additional pictures, or have questions about the materials and parts used in the project.